Easy, Fresh and Colorful Meals
A friendly food journal by Jessica and Kathrin, gathering simple soups, bright vegetables, and quick weeknight fixes for cooks who want to put a good meal on the table without fuss.
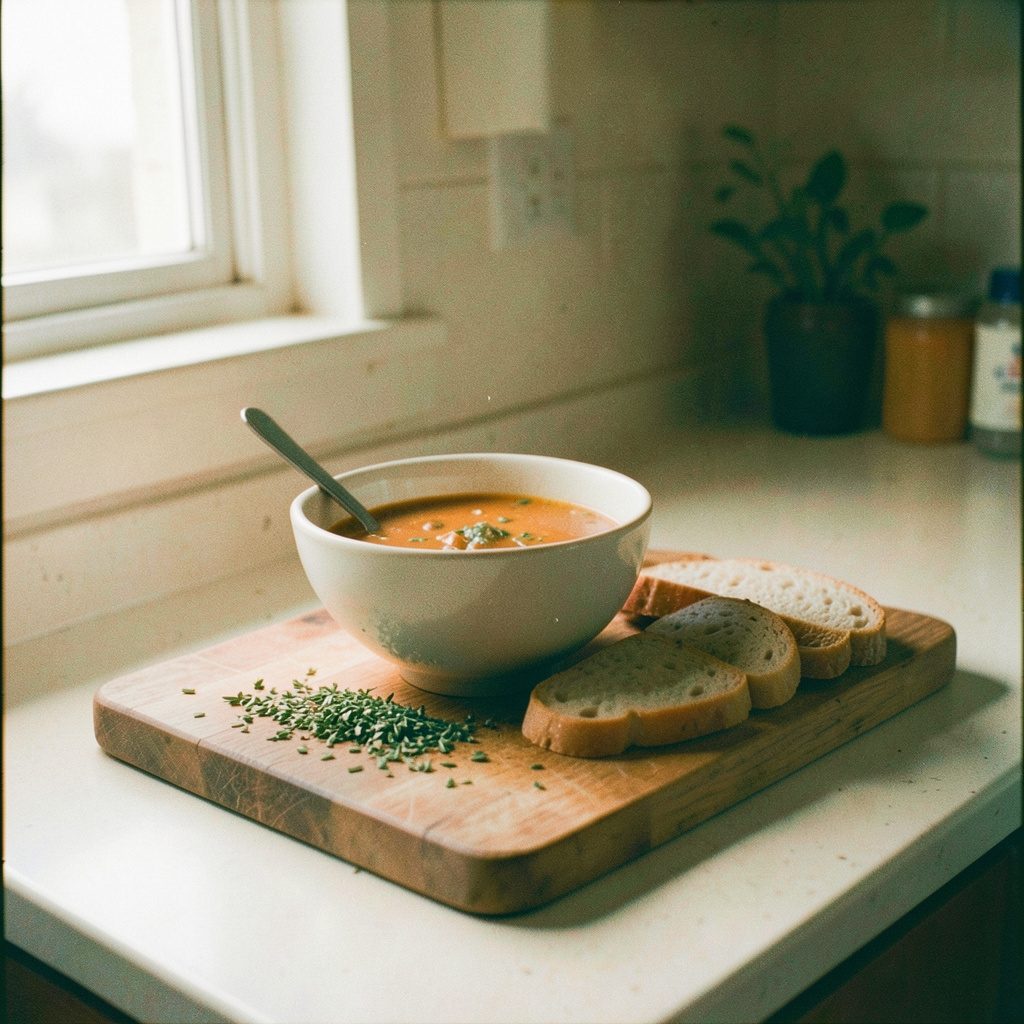
From the kitchen
A few of the meals we've been making lately.

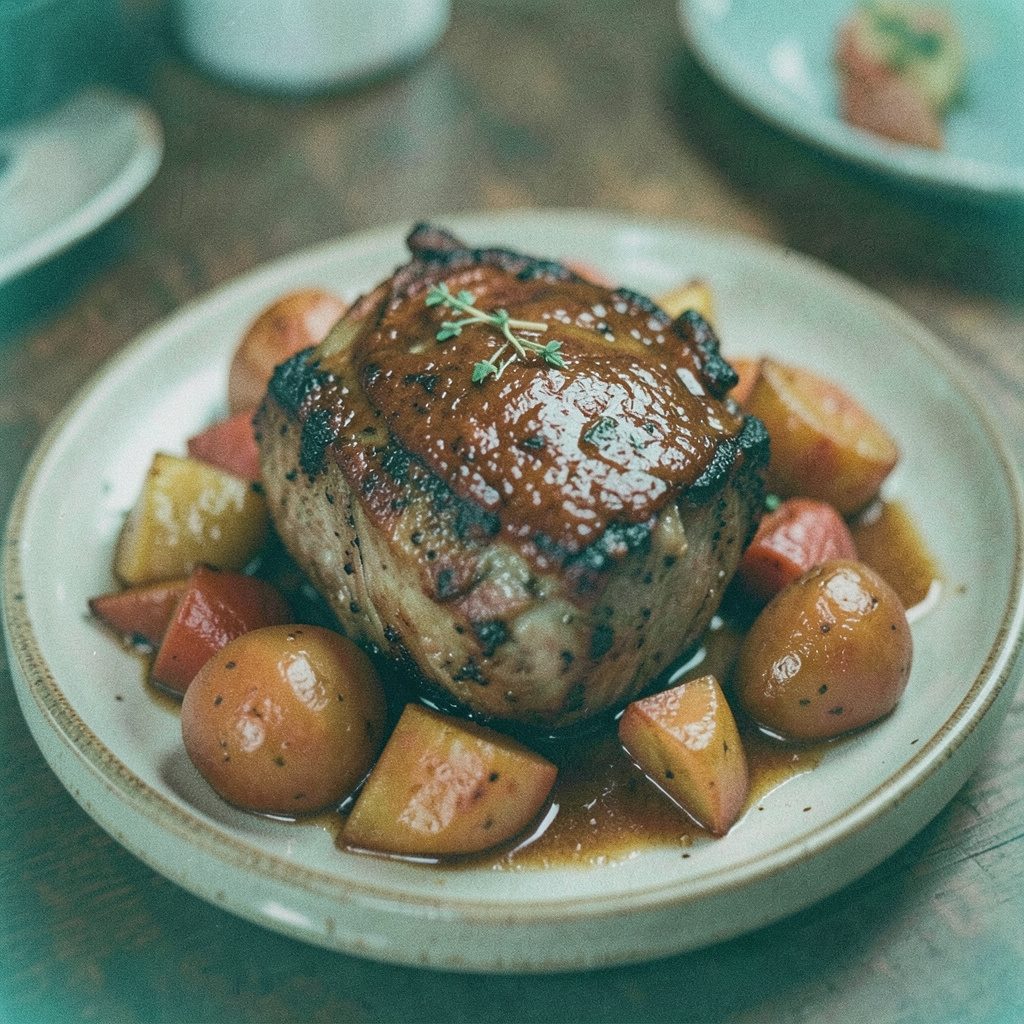
Watch & cook
Short clips from the kitchen.
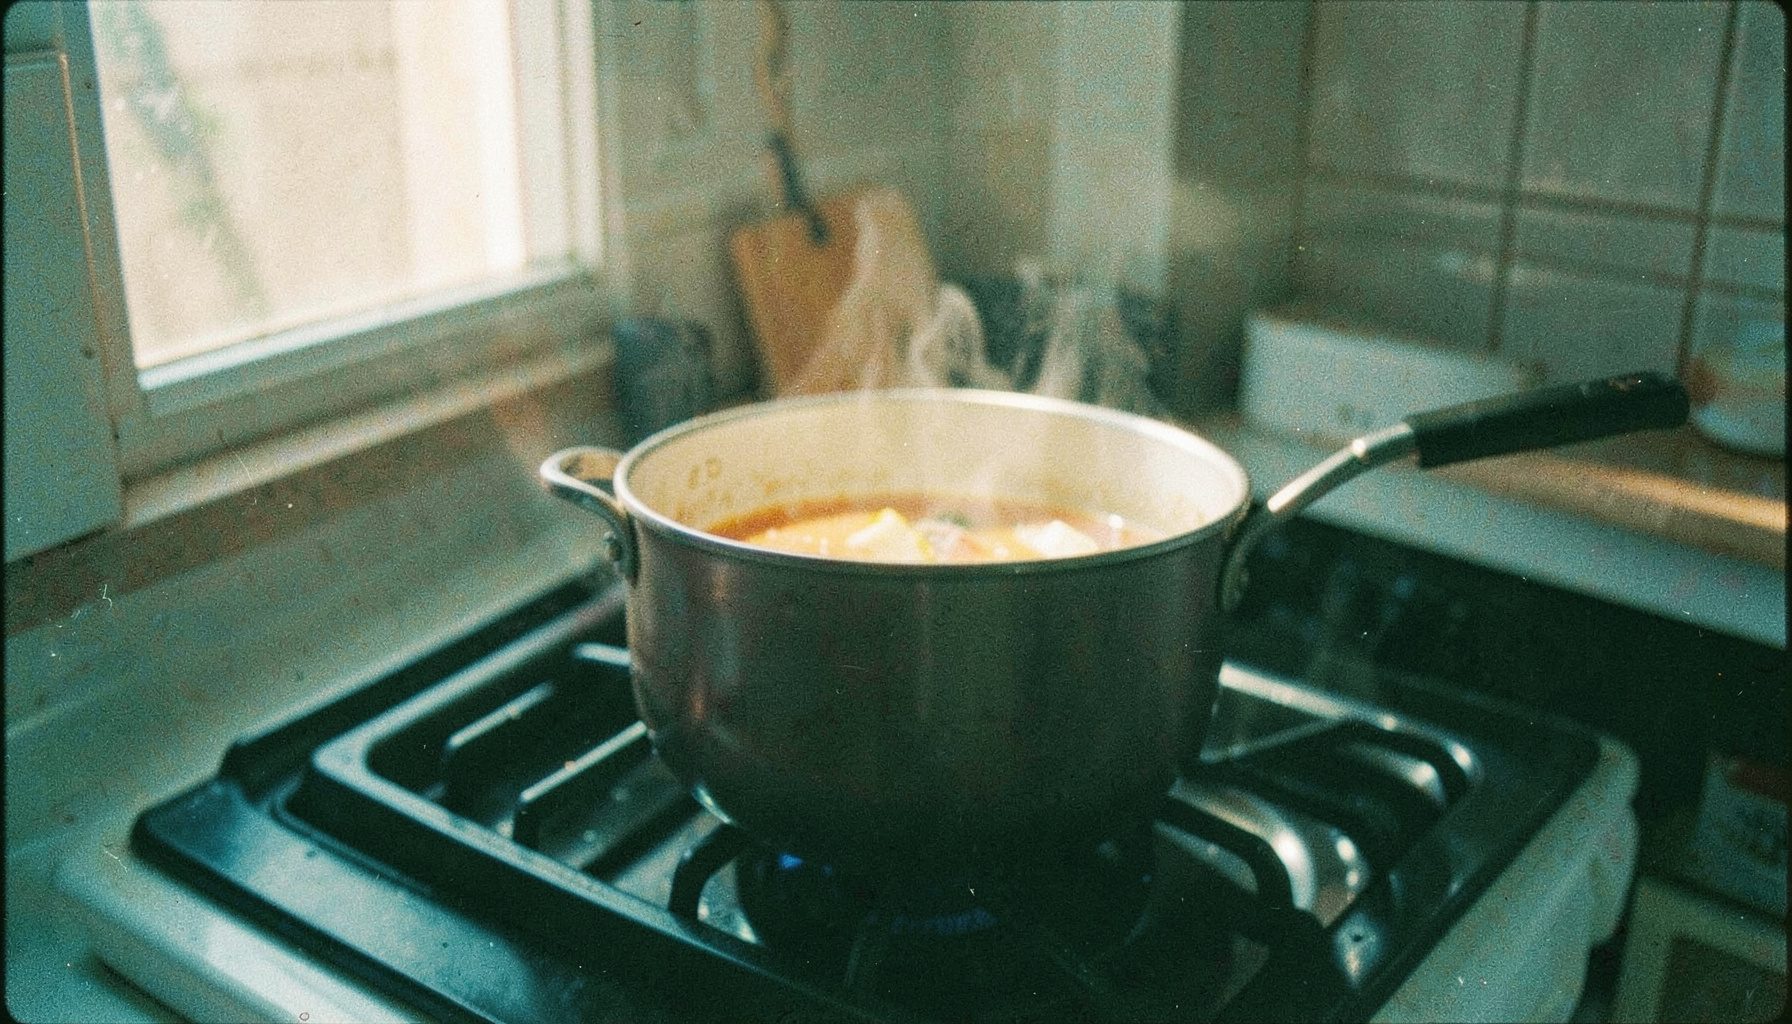 ▶
▶
Surf and Turf in a Soup
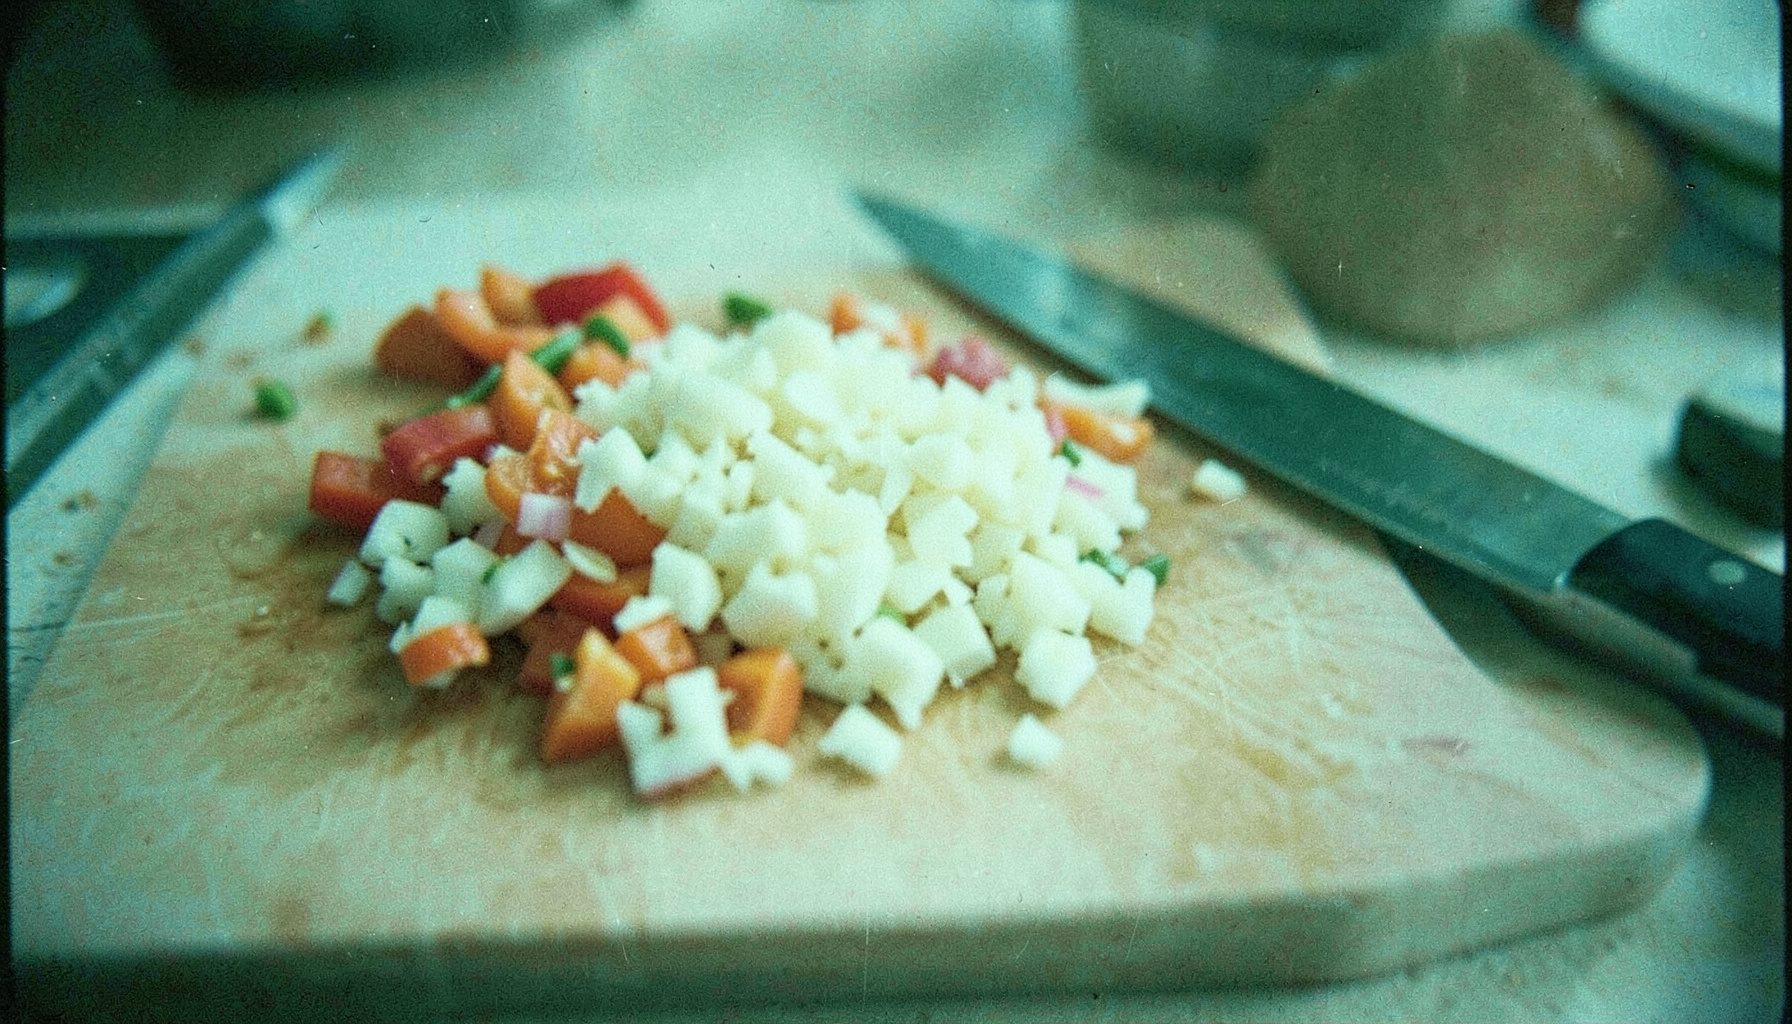 ▶
▶
Clarifying Clarified Butter
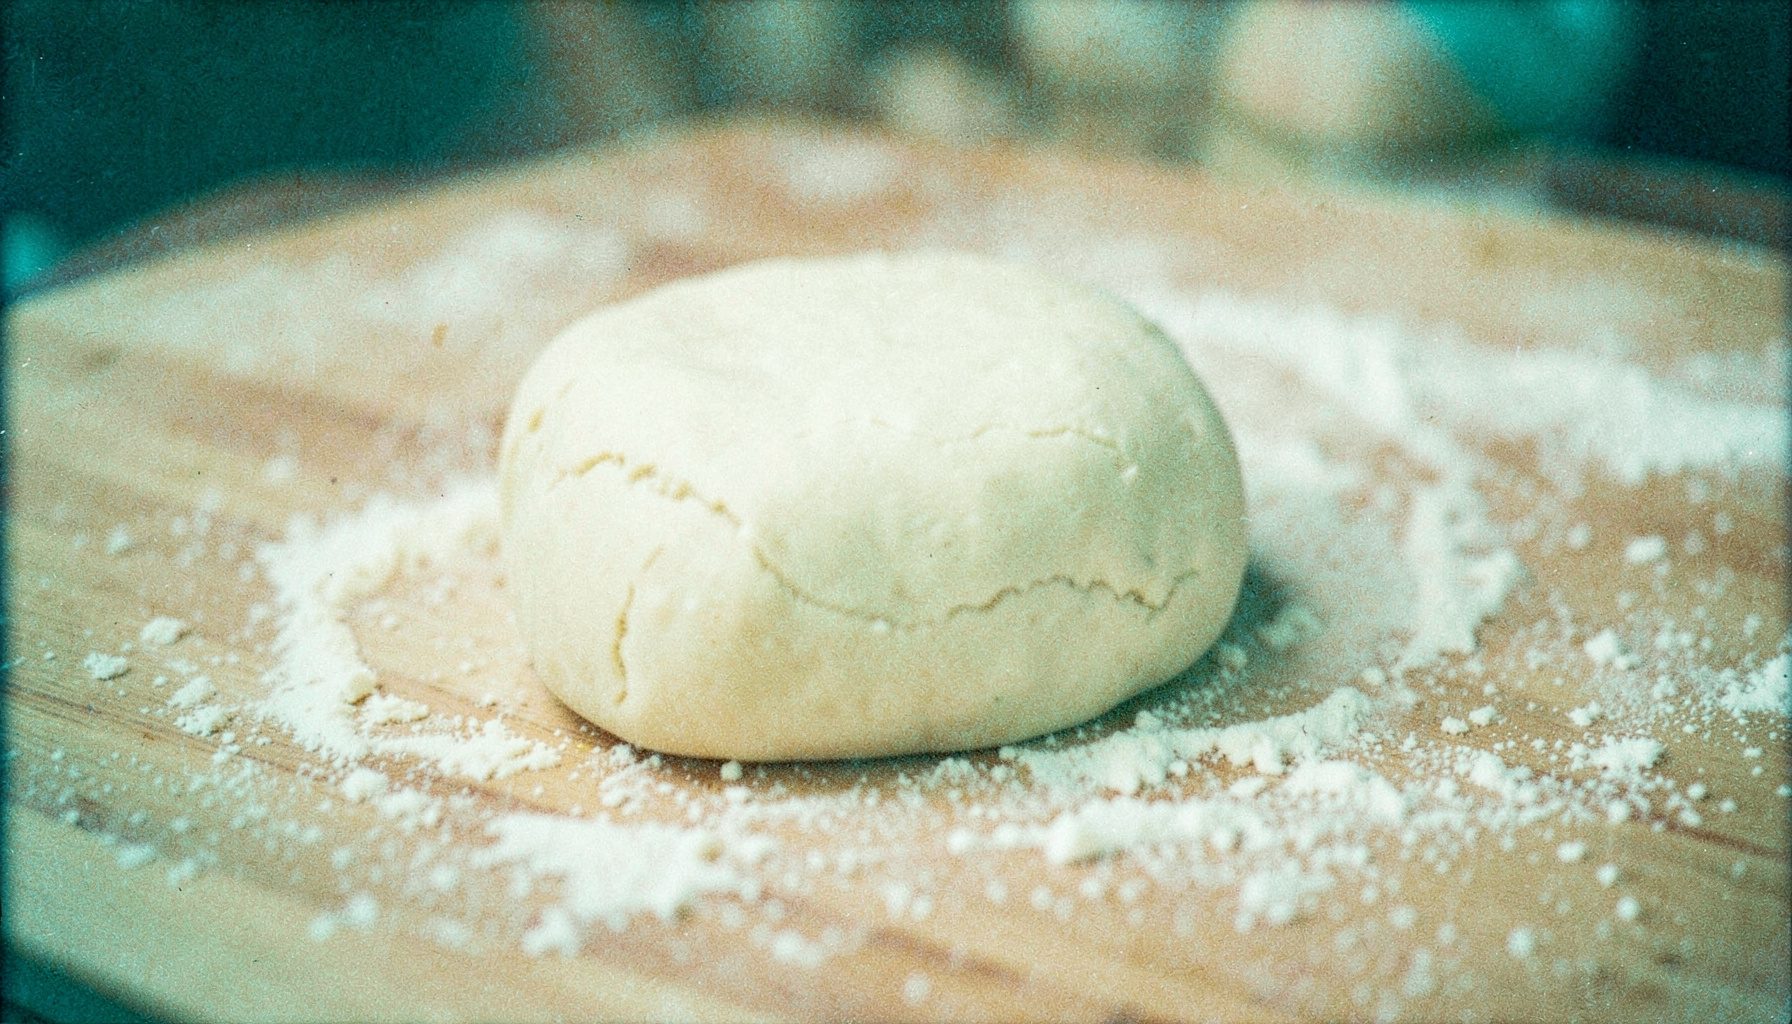 ▶
▶
Blueberry Dumplings
The Best No-Knead Artisan Bread for Beginners
Few things feel as rewarding as pulling a golden loaf from the oven, especially when the recipe involves little more than flour, water, salt, yeast, and time. No-knead bread is an ideal starting point for home bakers because the dough develops flavour and structure while you get on with your day.
This style of rustic bread has a crisp crust, a chewy centre, and the irregular holes associated with artisan loaves. You do not need a stand mixer, complicated shaping skills, or a professional baking stone. A heavy lidded casserole dish, often called a Dutch oven, creates the steamy environment that helps the loaf rise beautifully.
For Australian kitchens, the method is particularly practical. You can mix the dough in the evening, let it rest overnight, and bake it before work or during a relaxed weekend morning. Once you understand how the dough should look and feel, the recipe becomes flexible enough for cool Hobart mornings, humid Brisbane afternoons, and everything in between.
What Makes No-Knead Bread So Effective
Traditional bread dough is kneaded to develop gluten, the network of proteins that gives bread its stretch and shape. No-knead dough reaches a similar result through a long fermentation. During several hours of resting, the flour absorbs water and the gluten strengthens naturally.
The dough will look rough and sticky when first mixed. That is exactly what you want. Resist the temptation to add lots of extra flour, as a dry dough produces a dense loaf. Instead, use a wooden spoon or sturdy spatula until no dry patches remain, then cover the bowl and leave it alone.
A small quantity of yeast is enough because the extended rise gives it plenty of time to work. This slower process creates a deeper, pleasantly wheaty flavour than a fast loaf. It also makes the timing forgiving, which is helpful when your morning starts with school lunches, a commute, or a quick trip to the shops.
Ingredients And Equipment That Matter
For one medium loaf, use bread flour if available, as its higher protein content helps create a strong, chewy crumb. Plain flour can work well too, and it is widely available at Coles, Woolworths, independent grocers, and local supermarkets. Wholemeal flour may replace part of the white flour, but keep the proportion modest until you are comfortable with the dough.
You will need lukewarm water, instant dried yeast, fine salt, and a little flour for shaping. Avoid very hot water, which can damage the yeast. In Australia, “lukewarm” generally means water that feels comfortably warm rather than hot to your finger, around 35°C to 40°C.
The most useful piece of equipment is a heavy oven-safe pot with a lid. Cast iron gives excellent heat retention, although a sturdy enamelled casserole dish is also suitable. Check the manufacturer’s maximum temperature before preheating, particularly if the lid has a plastic or non-metal knob. A sheet of baking paper makes transferring the sticky dough much easier.
Mixing And Fermenting The Dough
Stir the flour, yeast, and salt together in a large bowl. Pour in the water and mix until a shaggy, sticky dough forms. Scrape down the sides, cover the bowl with a lid, plate, or reusable wrap, and leave it at room temperature for 12 to 18 hours.
The dough does not need to double perfectly. Look for bubbles across the surface, a softer texture, and a slightly domed appearance. In a warm Perth or Darwin kitchen, fermentation may happen sooner, while a cool Melbourne winter kitchen may need the full resting time. If the room is particularly warm, use cooler water and check the dough earlier.
A long rise does not mean the dough can be ignored indefinitely. If it collapses, smells sharply alcoholic, or becomes extremely loose, it may have fermented too far. It can still be baked, but the loaf may spread rather than rise. Making a note of the room temperature and timing will help you adjust the next batch.
Shaping A Rustic Loaf
Dust your work surface lightly with flour and scrape the dough out gently. Rather than kneading it, fold the outer edges towards the centre several times. This creates a little surface tension without knocking out every air bubble. Handle the dough with floured hands or a dough scraper because it will remain tacky.
Shape it into a loose round and place it seam-side down on baking paper. Cover it with a clean tea towel and let it rest for about 30 to 60 minutes while the oven and pot heat. This short second rise gives the gluten time to relax and helps the loaf expand in the oven.
For a more attractive finish, dust the surface with flour and make one confident slash across the top using a sharp knife or bread lame. The cut controls where the bread opens. Without it, the crust can split at a weaker point, although the loaf will still taste delicious.
Baking For A Crisp Crust
Place the lidded pot in a 230°C conventional oven, or around 210°C fan-forced, while it preheats. The pot needs to be thoroughly hot before the dough goes in. Carefully lower the dough, still on its baking paper, into the pot and cover it immediately.
Bake with the lid on for about 30 minutes. Trapped steam delays crust formation, allowing the loaf to expand and develop a lighter interior. Remove the lid and bake for another 10 to 20 minutes, until the crust is a rich golden brown. If the top darkens too quickly, reduce the temperature slightly.
The loaf should sound hollow when tapped underneath, and its internal temperature will usually be around 95°C to know it is baked through. Cool it on a wire rack for at least one hour before slicing. Cutting too soon releases steam and can leave the crumb gummy, no matter how tempting the aroma may be.
Flavour Variations And Serving Ideas
Once the basic loaf works, add flavour without changing the method dramatically. A teaspoon of fennel seeds, cracked black pepper, chopped rosemary, roasted garlic, or grated parmesan can turn a simple loaf into a dinner-table centrepiece. Add-ins should be fairly dry, as extra moisture can make the dough difficult to handle.
For a wholesome variation, replace up to one-quarter of the white flour with wholemeal flour. You may need a tablespoon or two of extra water because wholemeal flour absorbs more liquid. Rye flour gives an earthy flavour, while a handful of rolled oats adds texture and a rustic appearance.
Fresh bread is excellent with soup, poached eggs, avocado, or a tomato salad. It also turns an ordinary weeknight meal into something special alongside one-pot chicken and rice. In warmer parts of Australia, serve thin slices with olive oil, grilled vegetables, and a bright herb salad for an easy alfresco dinner.
A Reliable Baking Routine
Successful no-knead bread comes from observing the dough rather than following the clock rigidly. These practical habits make the process easier:
- Weigh flour with kitchen scales for consistent hydration and repeatable results.
- Keep the dough away from direct sunlight, heaters, and strong draughts while it ferments.
- Use bread flour for a taller loaf, or blend plain and wholemeal flour for extra flavour.
- Preheat the lidded pot fully before adding the dough.
- Cool the loaf completely before slicing so the crumb can set.
- Store leftover bread in a paper bag or bread box, then refresh slices in the oven.
A loaf baked in a covered pot keeps well for two days at room temperature. For longer storage, slice it once cool and freeze the pieces in an airtight bag. Toasting frozen slices straight from the freezer is convenient and prevents waste, especially when baking for one or two people.
The recipe can also become part of a relaxed weekend rhythm. Mix the dough after dinner, bake it the next morning, and use leftovers for toasties, breadcrumbs, or panzanella. Once the method feels familiar, you can experiment with hydration, flour blends, and fermentation times while keeping the basic process simple.
Try this loaf on your next baking day and give yourself time to notice how the dough changes from a shaggy mixture into a fragrant, crackling round. A few basic ingredients and a hot pot are all you need to bring fresh artisan-style bread to the table.
Meet the cooks
Two friends, two kitchens, one shared notebook.

Jessica
"I write down what worked, what flopped, and what to try next week."

Kathrin
"Recipes should leave room for the fridge and the season."
Get in touch
We read every message.