Easy, Fresh and Colorful Meals
A friendly food journal by Jessica and Kathrin, gathering simple soups, bright vegetables, and quick weeknight fixes for cooks who want to put a good meal on the table without fuss.
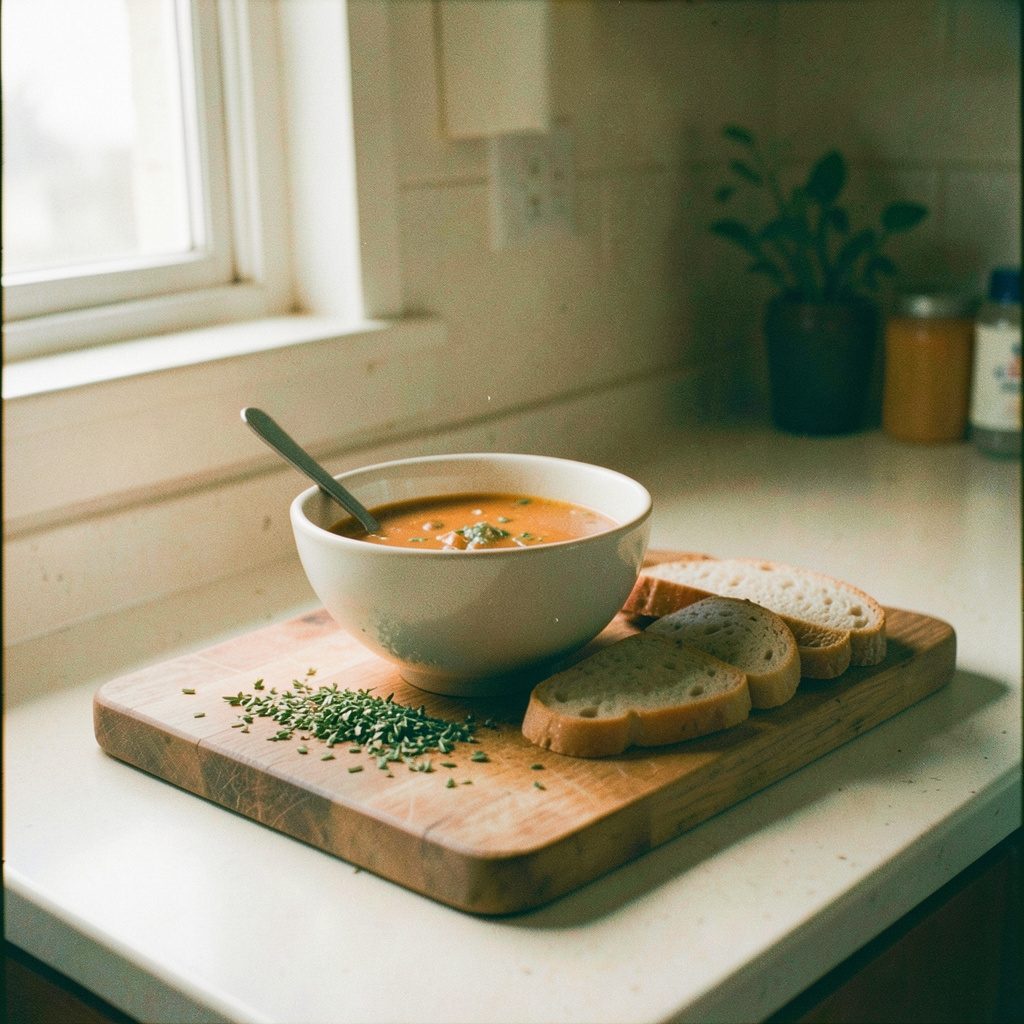
From the kitchen
A few of the meals we've been making lately.

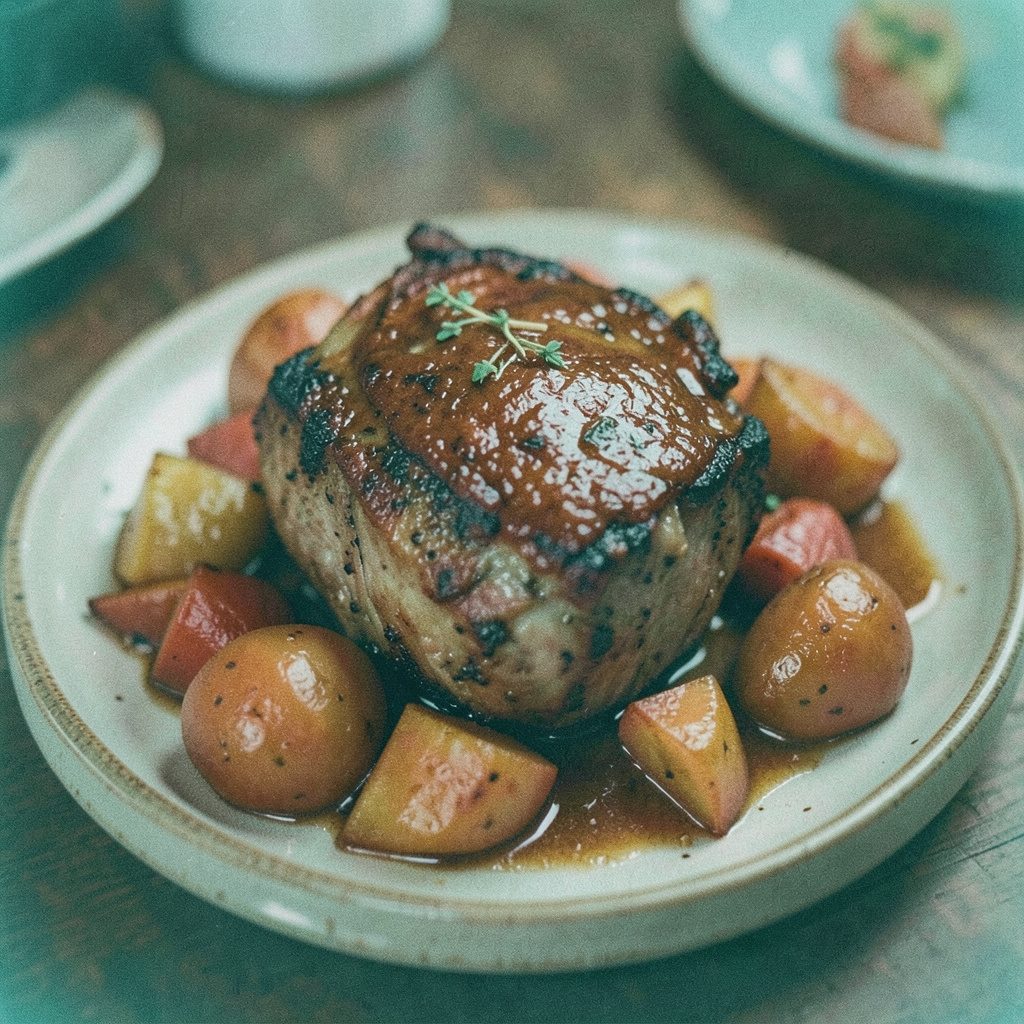
Watch & cook
Short clips from the kitchen.
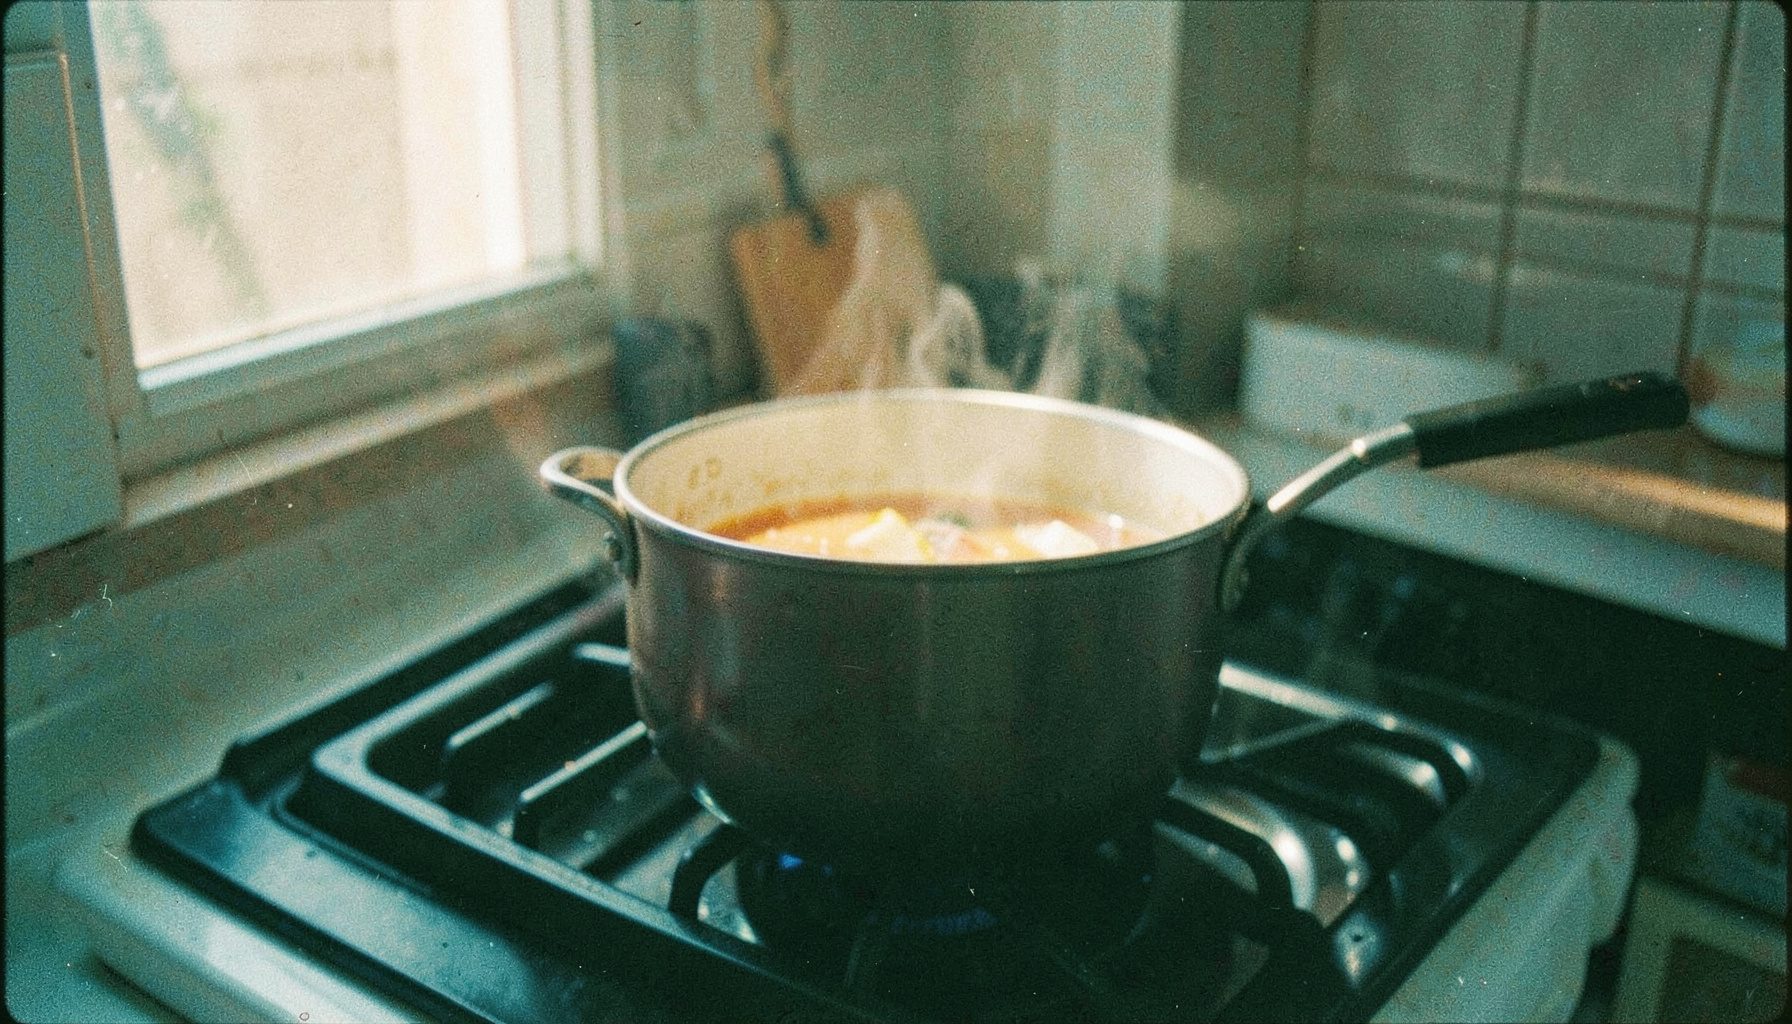 ▶
Surf and Turf in a Soup
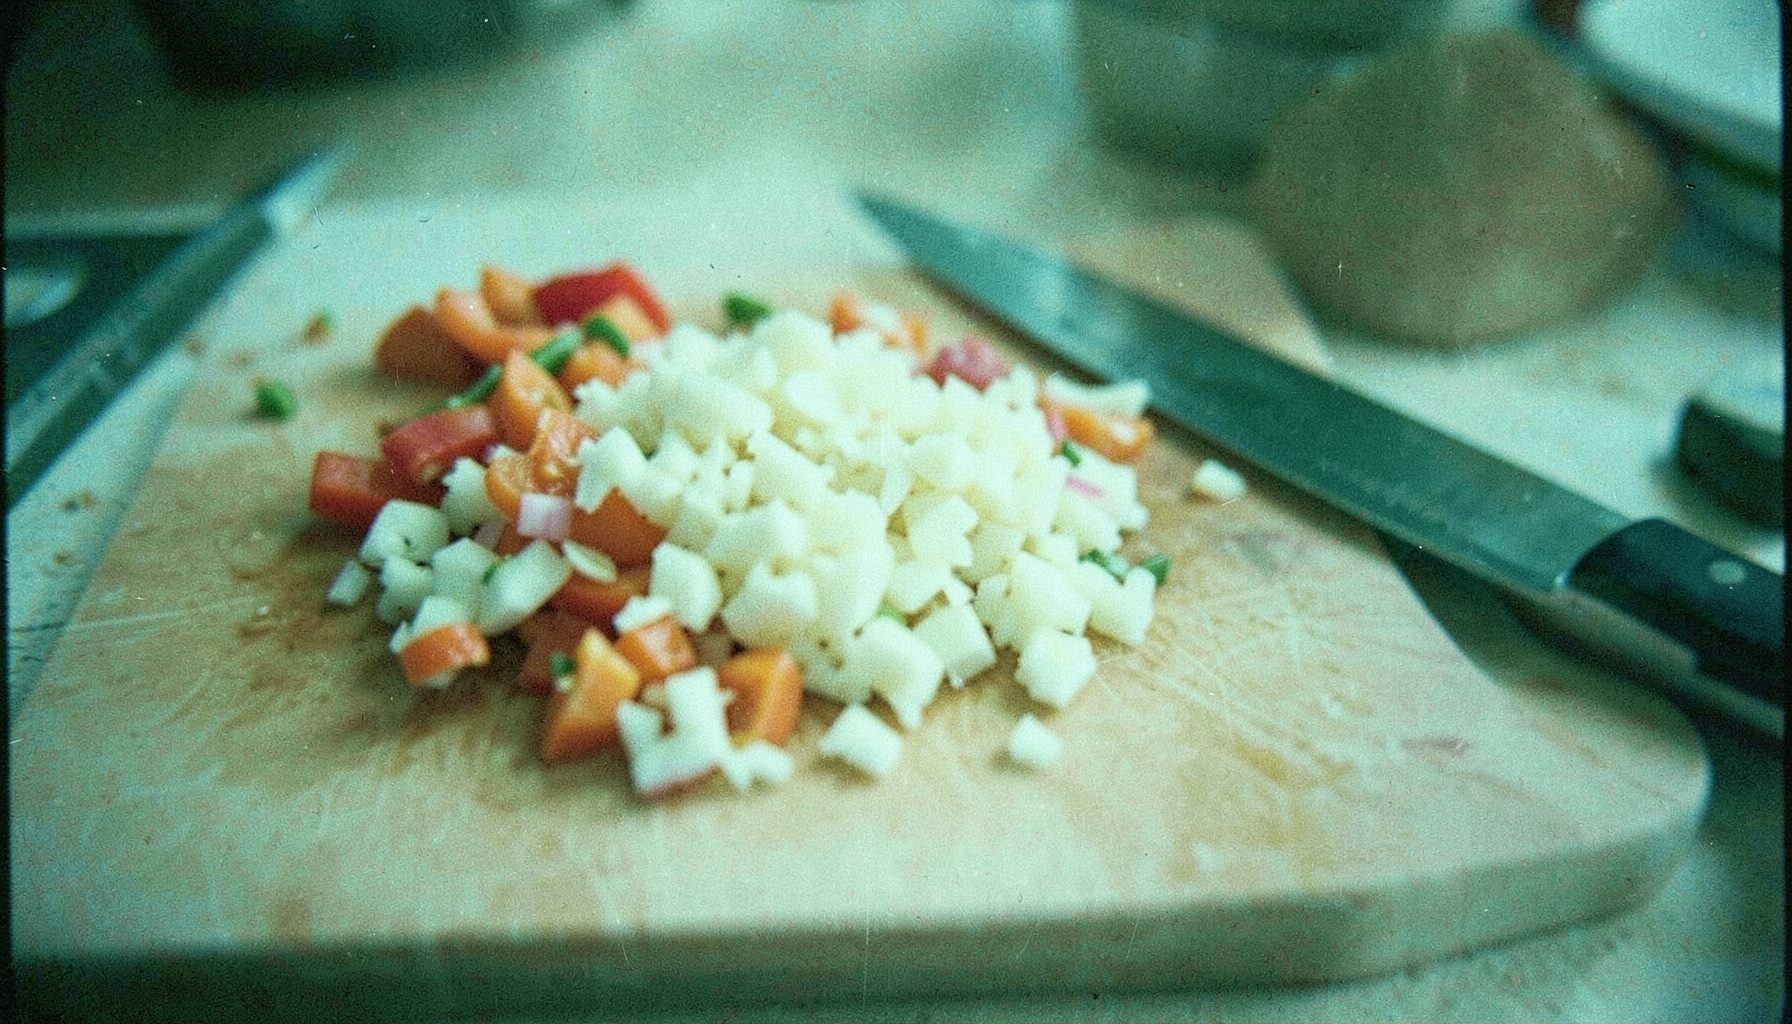 ▶
Clarifying Clarified Butter
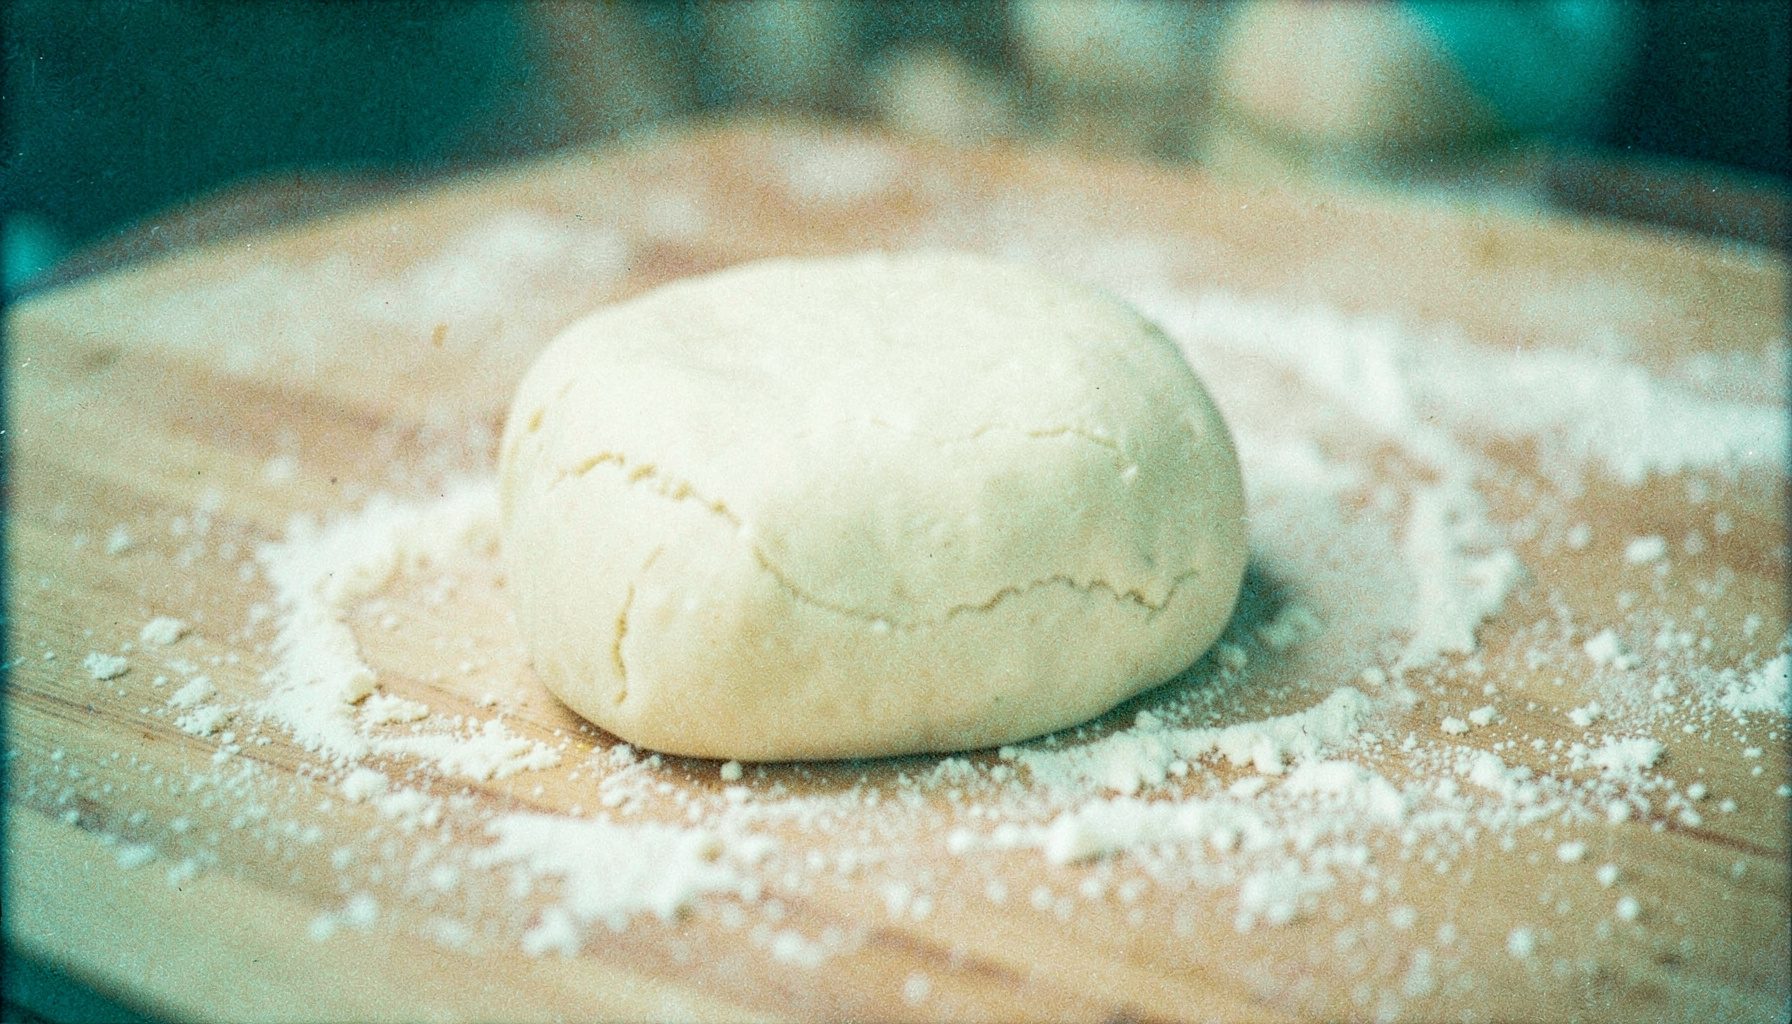 ▶
Blueberry Dumplings
How to make soft, fluffy dinner rolls from scratch
A tender dinner roll should pull apart without tearing, while the crust stays thin and golden. Yeast gives the inside its airy lift, and a little butter and milk create a soft, tender crumb. The trick is to develop the dough properly, let it rise until pillowy, and avoid overbaking at the end.
This recipe makes twelve medium-sized rolls that work for dinner, lunchboxes or a shared table. It uses simple ingredients, including strong bread flour, milk, butter and fresh yeast, with no specialised equipment required. You can prepare everything by hand or use a stand mixer fitted with a dough hook.
Understanding what makes rolls soft
Softness comes from hydration, gluten development and gentle handling. Milk and butter enrich the dough, while the yeast releases gases that become trapped in the elastic gluten network. Strong bread flour provides extra structure, helping each roll keep its shape without becoming tough or dense.
The final stage of baking matters just as much. Buttery dough can develop colour quickly, so watch the rolls closely and take them from the oven while the centres still feel slightly springy. A pale, floury crust may look innocent, but a golden exterior and tender interior are signs that the rolls are properly cooked.
Choosing ingredients for the Australian pantry
For twelve rolls, combine 500 g strong white bread flour, also sold as high-gluten baker’s flour, with 7 g instant yeast, 40 g caster sugar and 10 g fine salt. Add 300 ml full-cream milk, 50 g unsalted butter, softened but cool, and one egg for glazing. Reserve a little milk for the egg wash if the dough seems unusually dry.
An Australian pantry run is straightforward because Coles and Woolworths stock flour, instant yeast, milk and cultured butter across their standard ranges. Use metric measurements rather than cup measures for the most consistent results: grams, millilitres and oven temperatures in Celsius will give you repeatable buns. If you bake with a fan-forced oven, it usually needs about 20 degrees less heat than a conventional oven.
For a market visit, the produce and dairy traders around Melbourne’s Queen Victoria Market offer fresh milk and regional butter, although the flour and yeast are easiest to find at a nearby supermarket. For a colourful Mediterranean-style side at an Australian barbecue, serve the rolls with lemony Greek potato wedges; the lemon and feta contrast nicely with the mild, buttery bread.
Mixing a silky, elastic dough
Warm the milk to roughly 35–38 degrees Celsius. It should feel comfortably warm without becoming hot enough to harm the yeast. In a large bowl, mix the flour, yeast, sugar and salt, then make a well in the centre and pour in most of the milk. Add the butter and egg, mixing with a wooden spoon or your hands until no dry flour remains.
Turn the dough onto a lightly floured surface and knead for eight to ten minutes. It will begin sticky, then become smoother and more elastic as the gluten develops. A small piece should stretch thinly when pulled apart, although it may tear at the edges. If using a stand mixer, use the lowest speed for the first few minutes, then increase it slightly until the dough wraps neatly around the hook.
Avoid adding extra flour simply to make kneading easier. Sticky dough often becomes smooth once it has developed enough structure, and excessive flour produces a heavier crumb. If the dough feels dry, add warm milk one teaspoon at a time; if it spreads like batter, knead it for another few minutes rather than adding more flour.
Giving the dough time to rise
Cover the kneaded dough with a clean tea towel or cling film and leave it in a warm, draught-free spot for about 60–90 minutes. It is ready when it has roughly doubled in size, feels full of air and retains some spring when you press a finger into it. Slow growth is normal in a cool kitchen, so judge the dough by its appearance rather than the clock alone.
Warm weather changes the schedule quickly. A kitchen in Sydney or Brisbane can push the dough toward its second rise in a fraction of the expected time, while a cool Canberra or Hobart afternoon may slow it down. If the weather is hot, cover the bowl and find a cooler corner of the house. If it is cold, place the bowl inside the switched-off oven with the light on, or warm it briefly before mixing.
Shaping rolls without losing air
Tip the risen dough onto a lightly floured surface and press out large bubbles without knocking all the air from the dough. Divide it into twelve equal portions. Cup each piece in your palm, tuck the edges underneath and roll it into a smooth ball, keeping the surface taut.
Let the shaped rolls rest for ten minutes so the gluten can relax. Shape them once more, then arrange them in a greased 23-by-33-centimetre baking tray. Space them about two centimetres apart for soft sides, or place them almost touching for pull-apart rolls. Turn each roll so the tucked seam sits underneath, which helps prevent unexpected splits during baking.
Cover the tray and allow a second rise of approximately 30–45 minutes. The rolls should become noticeably puffy and fill the gaps between them. If your kitchen is particularly warm, begin checking after 20 minutes so the dough does not overproof and lose its shape.
Baking and troubleshooting for a soft crumb
Heat the oven to 190 degrees Celsius conventional or 170 degrees Celsius fan-forced. Place the tray on the middle shelf and bake for 14–18 minutes, depending on the size of the rolls. Brush them with beaten egg and a splash of milk before baking for a glossy, lightly coloured finish. The centres should spring back when lightly touched, and the bottoms should sound hollow when tapped.
Before the final rise, check the dough for these signs of readiness:
- It has roughly doubled in size and feels airy rather than tight.
- A finger dent springs back slowly, leaving a slight hollow.
- The rolls look smooth and pillowy.
- The baking tray remains at room temperature before entering the oven.
If the results are not quite right, adjust the next batch using these simple fixes:
- Pale crowns need another 2–3 minutes in the oven.
- Dark crowns benefit from 10–15 degrees less heat or a sheet of foil.
- Dense centres usually need 10–15 minutes more rising time.
- Split seams call for gentler shaping with the seam placed underneath.
Remove the rolls from the oven and let them cool on a wire rack for at least ten minutes. The residual heat continues setting the crumb as they cool. Cutting them too soon can make the inside gummy, while leaving them on the tray traps steam beneath the bases and softens their crust.
Serving warm rolls and planning ahead
Serve the rolls warm with butter and a good preserve, or split them and fill them with leftover roast lamb, salad and mustard for a relaxed Sunday lunch. They also pair well with soup, slow-cooked beef and Mediterranean dishes. For a simple family dinner, warm them in the oven for five minutes so the crust returns to its bakery-style crackle.
For longer storage, cool the rolls completely, place them in a resealable bag and freeze them for up to three months. Refresh frozen rolls in a 160-degree-Celsius oven for 5–8 minutes, or microwave them briefly wrapped in a clean tea towel. They can also be kept at room temperature in a sealed container for the following day, although their crust will gradually soften.
Use this quick diagnostic guide to keep the next batch on track:
| Symptom | Likely cause | Useful adjustment | Expected result |
|---|---|---|---|
| Dense centres | Short second rise | Proof for 10–15 minutes longer | Lighter, more open crumb |
| Flat rolls | Overhandling or weak gluten | Knead to elasticity and shape gently | Better lift in the oven |
| Very dark tops | Oven running too hot | Reduce heat or shield with foil | More even golden colour |
| Torn seams | Dough is overproofed or shaped too tightly | Shape sooner and place the seam underneath | Smoother tops |
Bake this batch for your next family meal, freeze half for later, and bring the warm rolls to the table.
Meet the cooks
Two friends, two kitchens, one shared notebook.

Jessica
"I write down what worked, what flopped, and what to try next week."

Kathrin
"Recipes should leave room for the fridge and the season."
Get in touch
We read every message.