Easy, Fresh and Colorful Meals
A friendly food journal by Jessica and Kathrin, gathering simple soups, bright vegetables, and quick weeknight fixes for cooks who want to put a good meal on the table without fuss.
From the kitchen
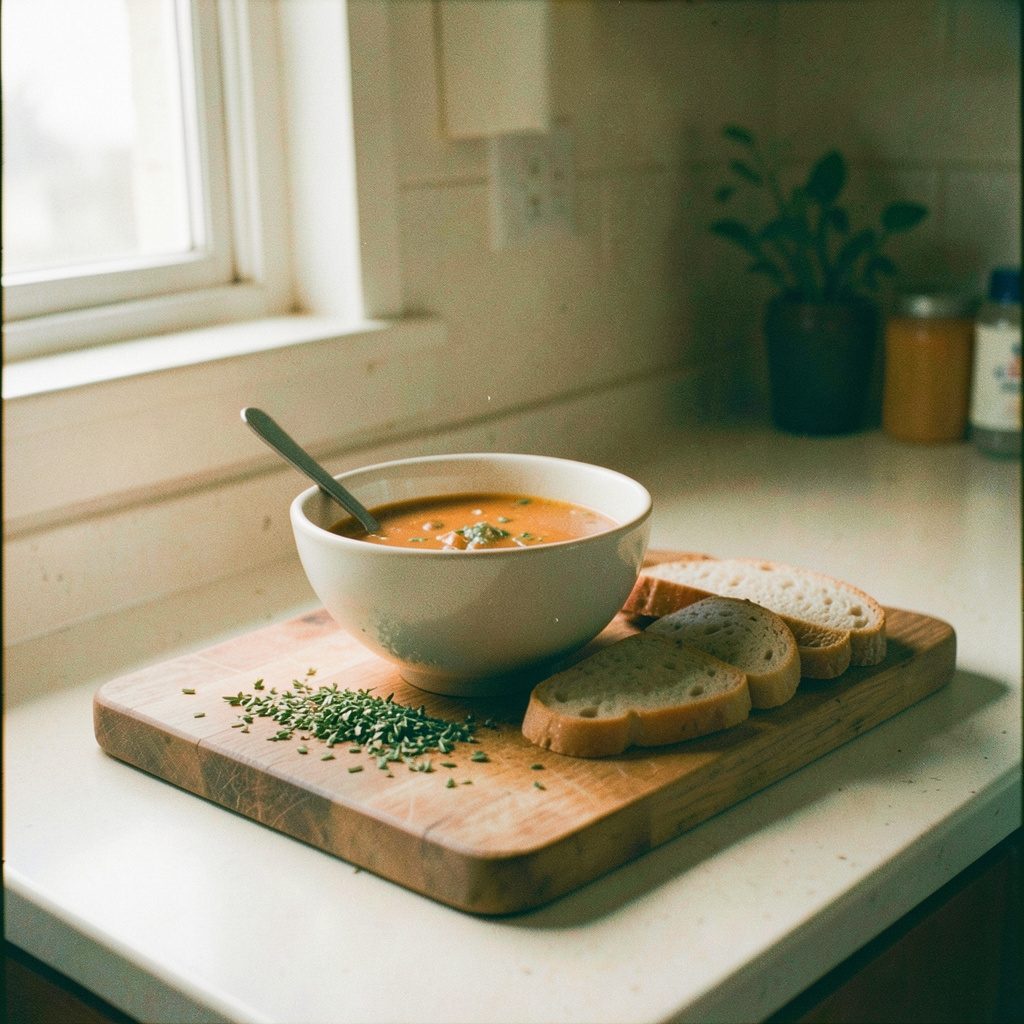
A few of the meals we've been making lately.
Watch & cook
Short clips from the kitchen.
 ▶
Surf and Turf in a Soup
 ▶
Clarifying Clarified Butter
 ▶
Blueberry Dumplings
How to make a better-than-boxed brownie mix
Boxed brownie mix earns its place in many Australian kitchens because it is quick, predictable and rarely needs a trip to the shop. It is particularly useful when unexpected guests arrive, the oven is already on or everyone wants chocolate dessert without the effort of measuring ingredients.
A homemade brownie mix offers something the box cannot: control over the fat, sweetness, cocoa and final texture. It takes only a little extra planning, and the dry mixture can be prepared ahead. This method uses metric measurements, real butter and a balanced blend of sugars to produce brownies with a rich centre and a lightly crackled top.
Why a homemade mix can taste better
Many boxed mixes rely on vegetable oil or shortening for their fat. That gives a soft, consistent brownie, but the flavour can feel one-dimensional. Melted butter adds dairy depth, while a combination of caster and brown sugar creates sweetness with a subtle caramel note.
The real advantage is flexibility. You can adjust the cocoa, omit the nuts, add something seasonal or stop mixing while the batter still looks slightly undercombined. These small choices are what separate a dependable homemade brownie from one that merely imitates the packet.
| Feature | Typical boxed mix | Improved homemade mix |
|---|---|---|
| Fat | Measured vegetable oil or shortening | Melted butter for richer flavour |
| Sugar | Usually white sugar | Caster and brown sugar for depth |
| Cocoa | Fixed blend and strength | Fresh cocoa with adjustable intensity |
| Texture | Soft and uniform | Control over fudgy, chewy or cake-like edges |
| Preparation | Fastest possible | A few extra minutes for better results |
Build a dependable brownie base
Start with 200 grams of plain flour, 45 grams of unsweetened cocoa powder, 150 grams of caster sugar, 75 grams of soft brown sugar, half a teaspoon of baking powder and half a teaspoon of fine sea salt. Sifted cocoa disperses more evenly, while the small amount of baking powder creates lift without turning the brownies into cake.
For the wet ingredients, melt 120 grams of unsalted butter and let it cool until it is just warm. Combine it with two large eggs at room temperature, 80 grams of sour cream and one teaspoon of vanilla extract. The sour cream supplies moisture and acidity, helping the centre stay tender while the flour structure remains light.
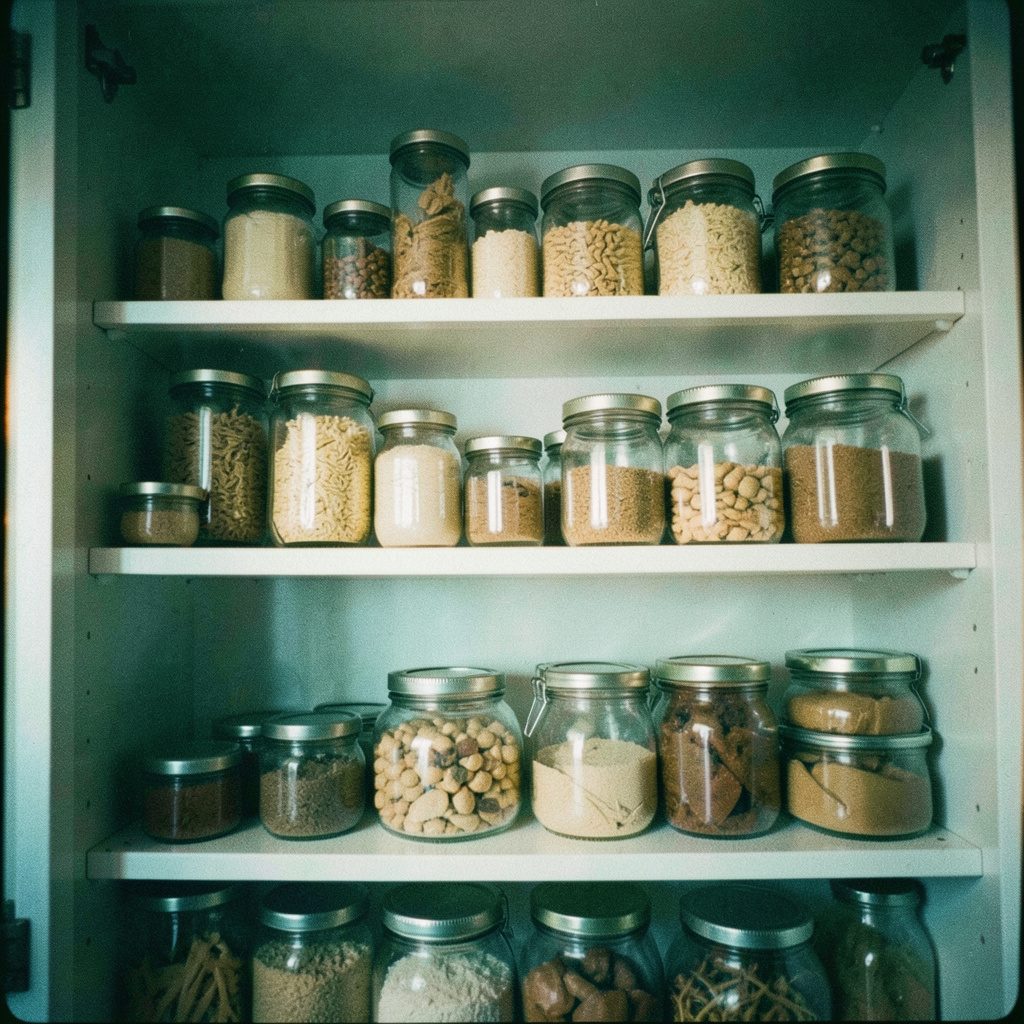
For an easy make-ahead version, combine all the dry ingredients, store them in an airtight jar and add the wet ingredients only when you are ready to bake. A jar of dry mix also makes a useful pantry gift, especially if the label lists the quantities and tells you to add 120 grams of butter, two eggs and 80 grams of sour cream.
Mix for a fudgy centre
Whisk the wet ingredients together separately before adding them to the dry mixture. Fold with a spatula until the batter is almost combined, then stop while a few streaks of flour remain. Vigorous mixing develops gluten and can produce a tougher brownie rather than the soft, fudgy texture you want.
Let the finished batter rest for ten minutes while the oven heats. During this time, the flour hydrates and the cocoa disperses, improving both flavour and texture. Line a 20-centimetre square baking tin with baking paper, then spread the batter evenly into the corners. Scrape the surface with a spatula so it sits level.
Bake at 180 degrees Celsius in a conventional oven or 160 degrees fan-forced for approximately 30 to 35 minutes. Check early, as ovens and tins vary. The top should look set and the edges should have begun to pull away, while a skewer inserted into the centre should come out with a few moist crumbs rather than wet batter.
Match the flavours to the season
Fresh mango works beautifully with brownies because its bright acidity cuts through the chocolate. During the warmer months, look for ripe mangoes at Melbourne’s Queen Victoria Market or Sydney’s Carriageworks, then serve the brownies with a spoonful of mango salsa for tacos for a fresh, tangy contrast. The same salsa also works with yoghurt, vanilla ice cream or crisp chips.
Other simple additions can change the character of the batch without complicating it. Fold through chopped walnuts for extra crunch, toasted hazelnuts for a richer finish or dried cherries for a sharper fruitiness. A teaspoon of instant espresso powder deepens the chocolate flavour without making the brownies taste strongly of coffee.
For orange and chocolate, add the finely grated zest of one orange to the dry ingredients and finish with a teaspoon of orange juice in the wet mixture. Keep the zest light, since too much can make the chocolate taste bitter. These variations are best added to the base recipe rather than used all at once.
Adjust the texture to taste
For a cakier brownie, add one extra egg and reduce the flour by 15 grams. The additional protein and moisture create a firmer centre with a lighter crumb. For an especially fudgy result, leave the flour unchanged and bake for only a few minutes less, checking the skewer frequently.
If the brownies bake too quickly and become dry, use a lighter-coloured tin or check the oven temperature with an oven thermometer. If they are pale, make sure the cocoa is fresh and that the batter was spread evenly. Greasy patches usually mean the batter was overmixed, while a cracked surface can indicate that the oven was too hot or the pan was positioned too close to the element.
Brownies that spread excessively may need another five minutes in the tin because they continue setting as they cool. Let them rest away from the heat for at least 15 minutes before cutting, or the centres may still be too soft to handle cleanly.
Ingredients and equipment checklist
For the dry mixture, gather the following:
- 200 grams plain flour
- 45 grams Dutch-process or natural cocoa powder
- 150 grams caster sugar
- 75 grams soft brown sugar
- Half a teaspoon baking powder and half a teaspoon fine sea salt
For the wet ingredients and equipment, have these ready:
- 120 grams unsalted butter
- Two large eggs at room temperature
- 80 grams sour cream
- One teaspoon vanilla extract
- A 20-centimetre square tin, baking paper and a spatula
Bake, cool and share
Once baked, leave the brownies in the tin for two hours so the residual heat finishes setting the middle. Lift out the parchment, place the slab on a wire rack and cut it into sixteen generous squares. For neat pieces, use a large sharp knife dipped briefly in hot water and wiped clean between cuts.
Store the brownies in an airtight container for up to four days, separating the layers with baking paper. They also freeze well for up to two months. Thaw them at room temperature, or warm a square briefly in the oven if you prefer a just-baked centre. The homemade mix keeps its texture, and the leftover pieces are useful for lunchboxes or a quick afternoon tea.
Make a batch this weekend, share a square with a neighbour and keep the rest close by for the next chocolate craving.
Meet the cooks
Two friends, two kitchens, one shared notebook.

Jessica
"I write down what worked, what flopped, and what to try next week."

Kathrin
"Recipes should leave room for the fridge and the season."
Get in touch
We read every message.