Easy, Fresh and Colorful Meals
A friendly food journal by Jessica and Kathrin, gathering simple soups, bright vegetables, and quick weeknight fixes for cooks who want to put a good meal on the table without fuss.
From the kitchen
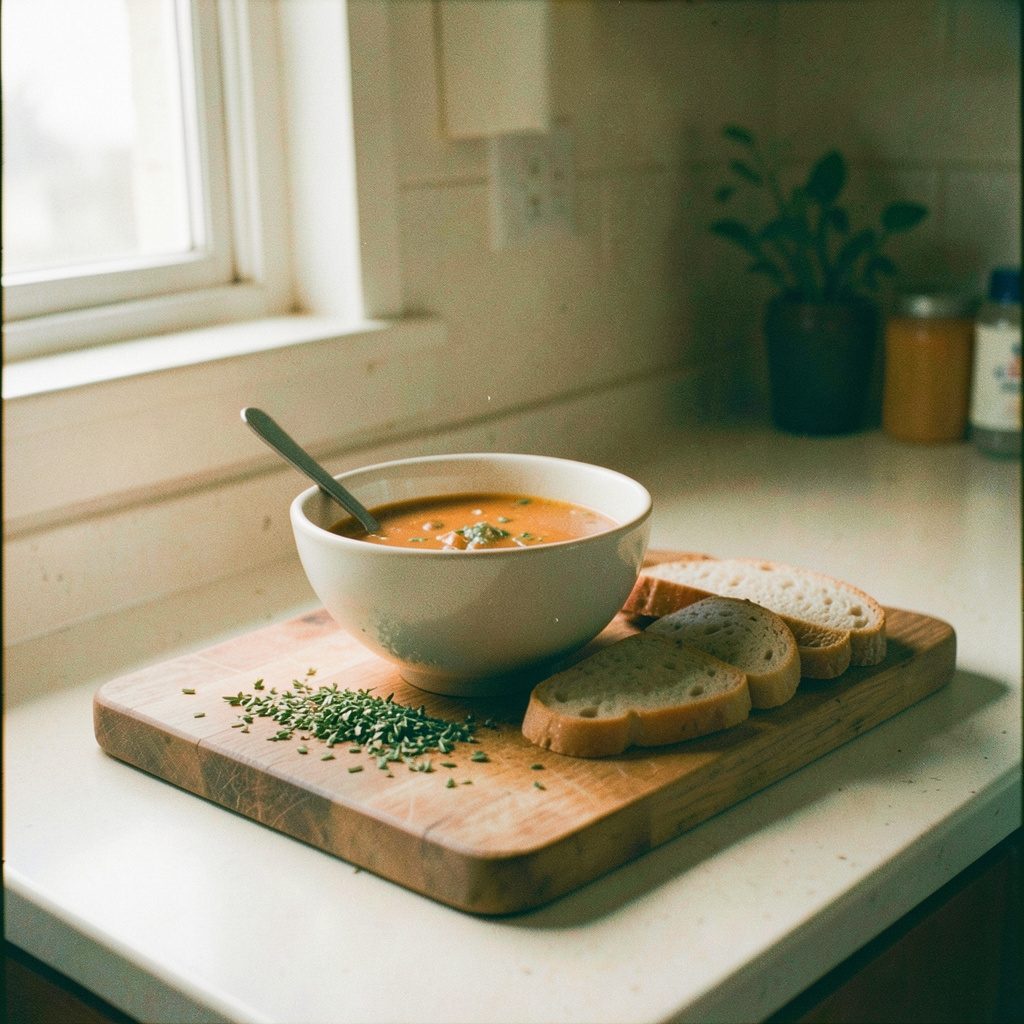
A few of the meals we've been making lately.

Watch & cook
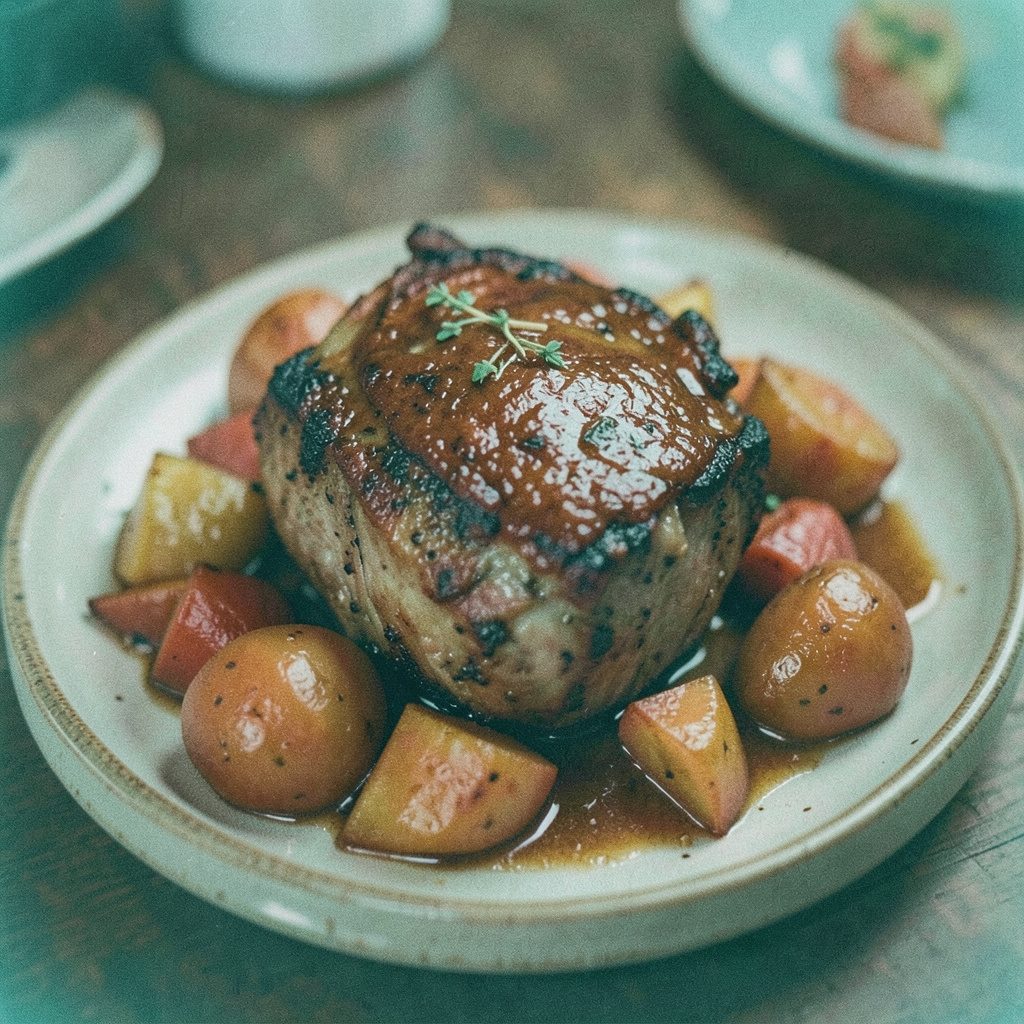
Short clips from the kitchen.
 ▶
Surf and Turf in a Soup
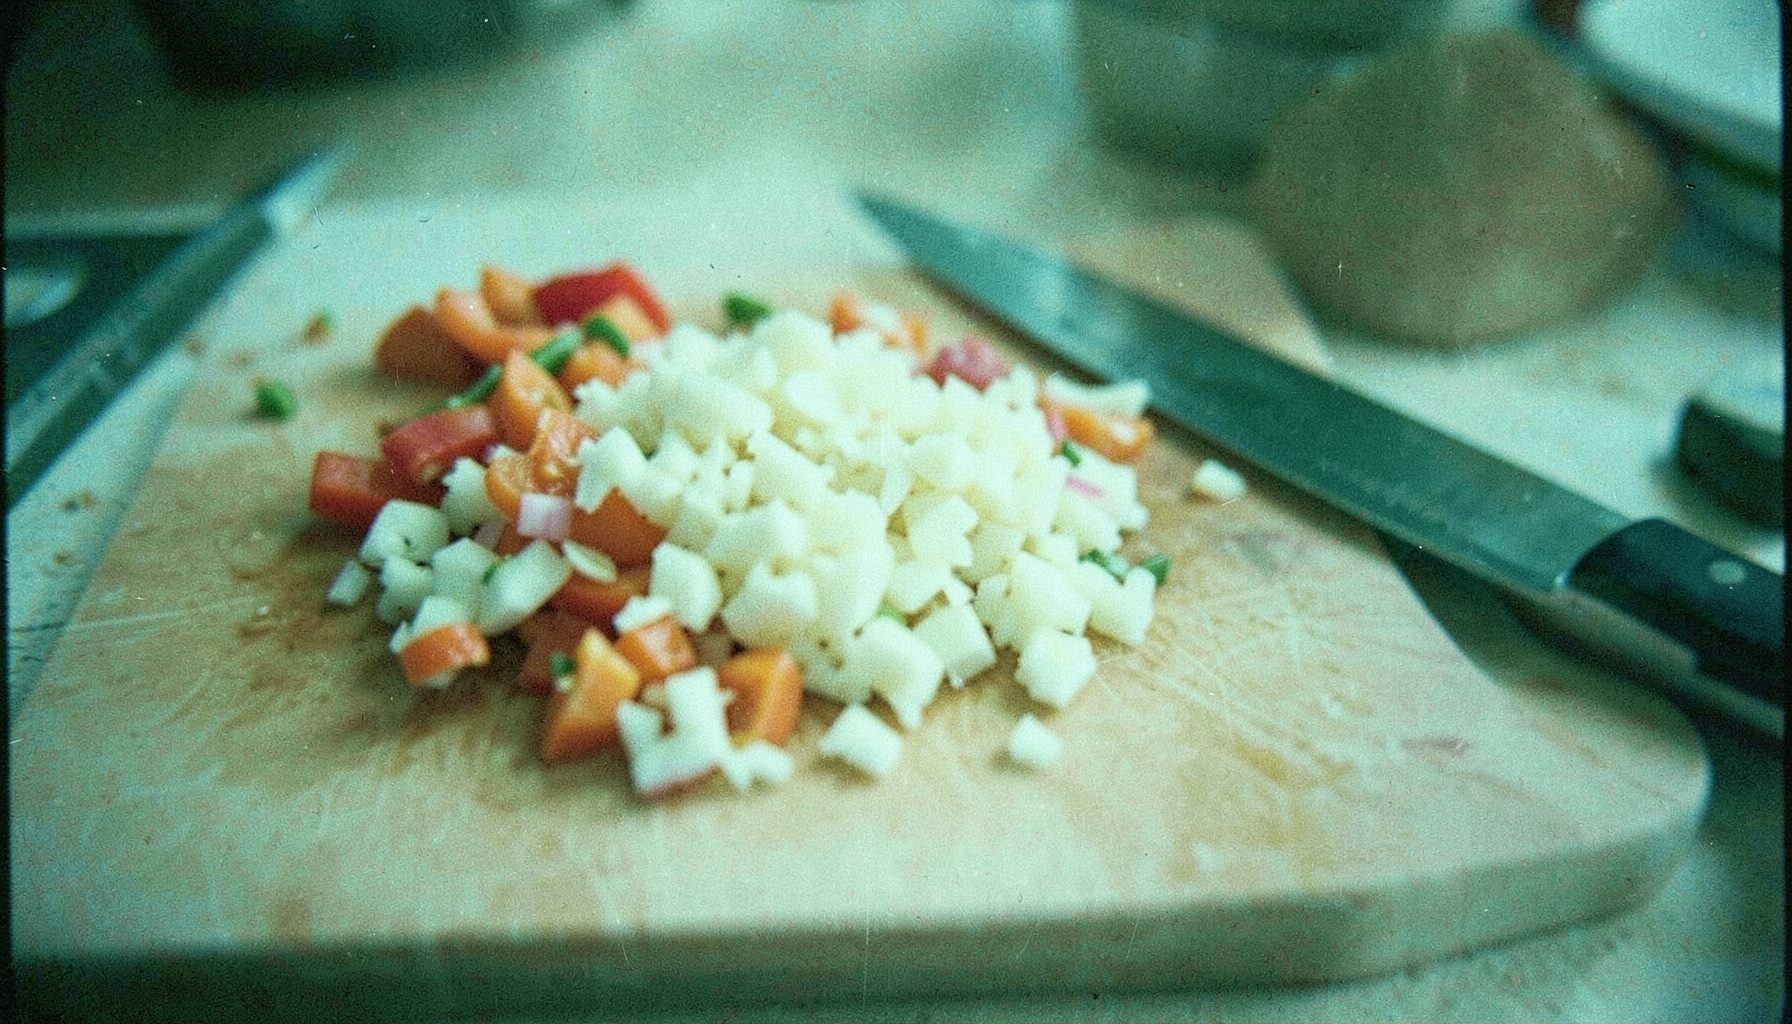 ▶
Clarifying Clarified Butter
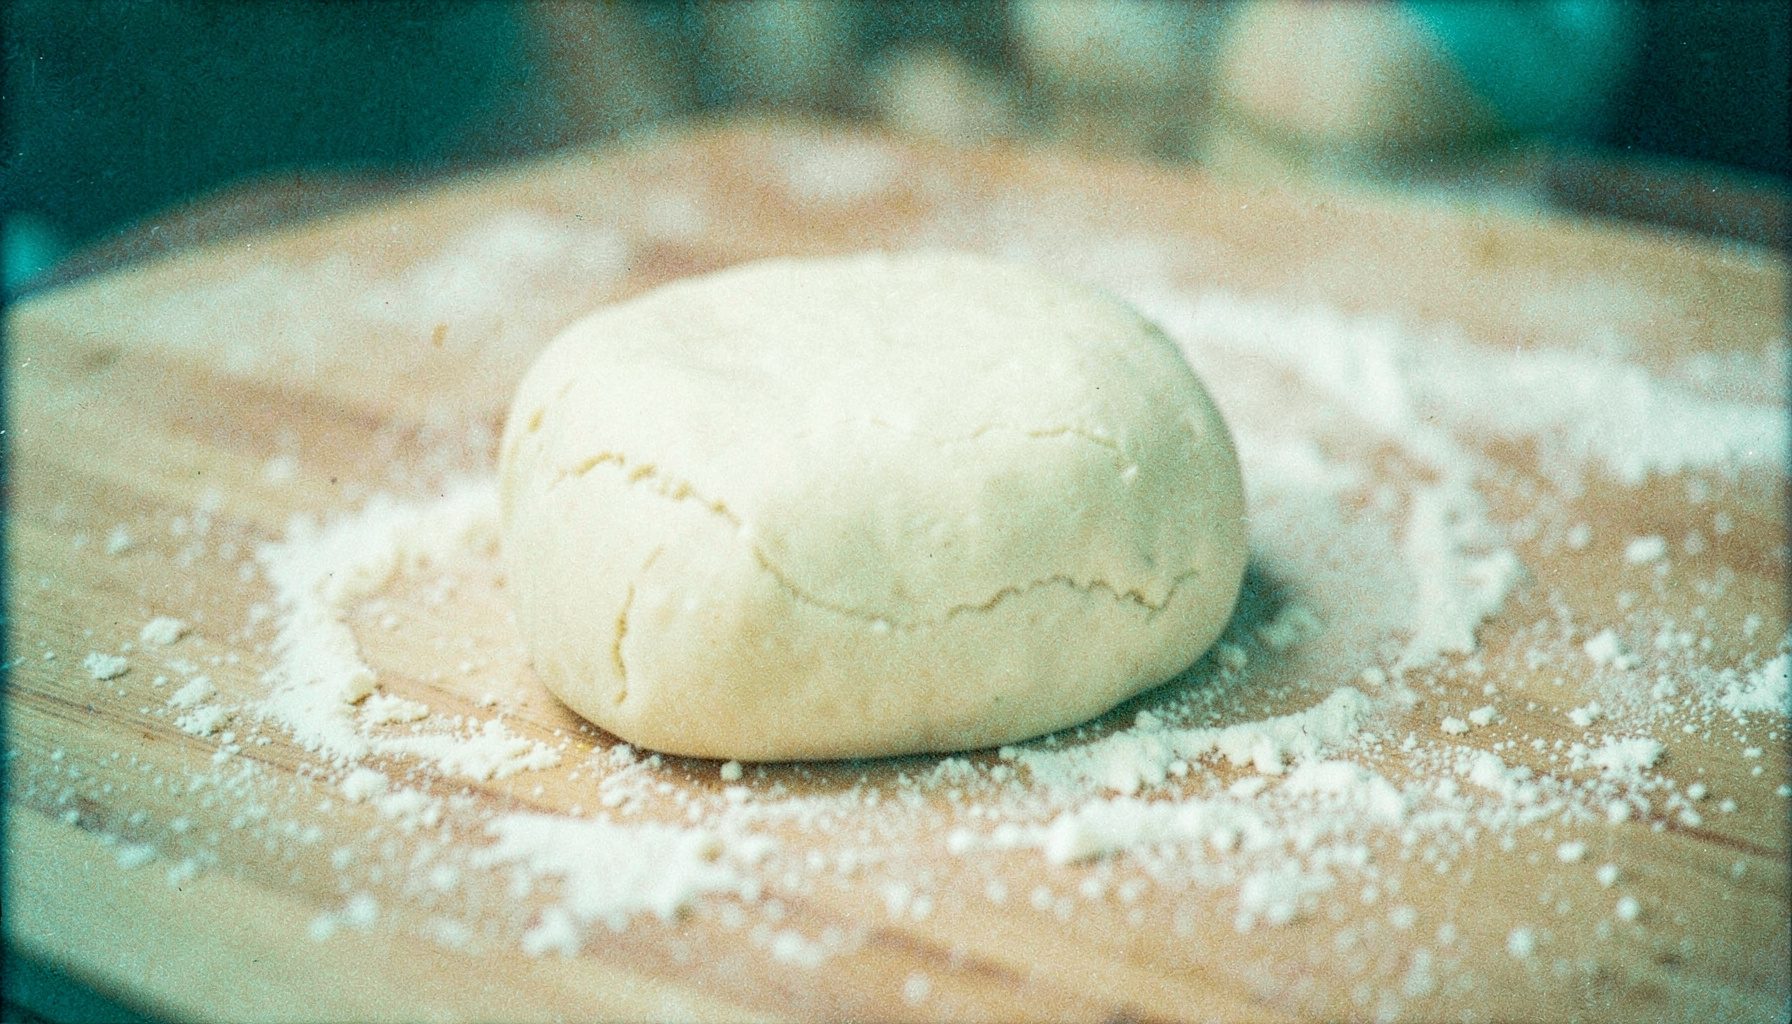 ▶
Blueberry Dumplings
No-bake chocolate peanut butter oat bars
Making a tray of chocolate peanut butter oat bars without an oven gives you a useful answer to the half-finished pantry, the rushed after-school snack and the afternoon coffee break that needs something more than biscuits. Rolled oats, peanut butter, honey and chocolate come together with little effort, so the work is mostly measuring, stirring and waiting for the tray to chill.
The finished squares are chewy in the middle, crisp around the edges and sturdy enough for a lunchbox. They suit the Australian habit of sending children off with a packed morning snack, while the small batch also works for a work desk, a post-walk treat or a plate at a casual gathering.
Why no-bake bars suit Australian kitchens
Australian kitchens rarely have one uninterrupted cooking window. Between school drop-offs, commutes across Sydney or Melbourne, office lunches and weekend sport, a recipe that can be assembled while dinner simmers is often more realistic than one that needs constant oven attention. These bars ask for a bowl, a lined square tin and a little patience, making them practical for busy weekdays and relaxed weekends alike.
The pantry also does most of the work. Oats, peanut butter and honey are familiar supermarket staples, while dark chocolate can come from the baking aisle or the chilled section of Coles or Woolworths. A trip to a Saturday farmers’ market might add good nuts, dried fruit or coconut to a plain batch, but there is no need to make a special shopping expedition. The ingredients are forgiving, the quantities are simple and the bars travel well without a tin.
Everything you need for a reliable batch
Choose a pan that will give you even squares and enough room to press the mixture firmly. A 20-centimetre square tin, lined with baking paper, is ideal; a rectangular baking tray also works, though it will produce a different shape. Have the wet ingredients ready before combining anything.
For the basic mixture, measure out the following:
- 200 g rolled oats
- 120 g smooth or crunchy peanut butter
- 80 g honey or maple syrup
- 60 g dark chocolate, finely chopped or melted
- 40 g unsalted butter or coconut oil, melted
- 1 teaspoon vanilla extract and a small pinch of salt
These quantities make about 12 generous bars. Use peanut butter that is soft enough to stir; if it has been in the fridge, leave the jar out for 15 minutes or microwave a spoonful briefly. Honey keeps the mixture pliable, while maple syrup gives a slightly deeper sweetness that works particularly well with darker chocolate.
For optional extras, choose from:
- ½ cup shredded coconut
- ½ cup mini marshmallows
- ⅓ cup chopped peanuts
- ⅓ cup dried cranberries or sultanas
- 1 tablespoon chia seeds
Add no more than one or two extras at once, then taste before increasing the amount. Coconut and dried fruit can make the bars noticeably sweeter, while chia seeds add a mild crunch without changing the basic method. Mix any additions through the sticky base or scatter them over the top before pressing.
Mix, press and chill
Put the oats in a large bowl. Add the peanut butter, honey or maple syrup, melted butter or coconut oil, vanilla and salt. Stir thoroughly, scraping the sides, until every oat is coated and the mixture holds together when squeezed in your hand. If it looks dry, add a teaspoon of warm water or a little extra honey; if it is too sticky, work in another spoonful of oats.
Stir most of the melted or chopped chocolate through the mixture. Keeping a little back for the surface gives the finished bars a more polished look and a small pocket of soft chocolate in every bite. Tip the mixture into the lined tin and use the back of a spoon or a flat piece of food plastic to press it into an even layer. Compact it well, especially at the corners, because a firmly packed bar is much less likely to crumble when it is lifted.
Spread the reserved chocolate across the top and chill the tin for at least two hours, or until firm. Overnight chilling gives the cleanest cuts and lets the oats absorb the syrupy mixture. Once set, lift the paper out, place the slab on a board and use a sharp knife to cut it into squares. Wipe the blade between cuts so the edges stay neat rather than dragging crumbs across the surface.
Storing, serving and lunchbox planning
Keep the bars in an airtight container in the fridge for up to five days, or freeze them in layers of parchment for longer storage. They are particularly welcome in an insulated lunch bag on a warm Brisbane afternoon, when a soft oat bar is more appealing than a biscuit that has gone flat in the heat. For a shorter trip, a paper wrapper is enough; for a full school day, refrigeration is the safer choice.
Serve the squares cold straight from the fridge, or let one sit at room temperature for 10 minutes for a slightly softer texture. They pair naturally with fruit, yoghurt or a cup of tea. For a savoury contrast at dinner, the site’s five-minute tomato sauce turns tomatoes and pasta into a quick meal that can sit beside a chilled square without trying to pretend the two belong in the same recipe.
If you package and sell the bars in Australia, peanuts must be declared under the Food Standards Australia New Zealand Food Standards Code, and the ingredient and allergen panels must follow the required format. Selling through a market stall can also involve state food-business registration and local council rules, particularly when preparation happens in a home kitchen. Check the rules for your state and council before turning a favourite home batch into a public product.
Try variations with balanced contrast
The easiest variation is a change of chocolate: milk chocolate makes a sweeter, creamier bar, while very dark chocolate keeps the flavour more intense. Swapping smooth peanut butter for crunchy introduces roasted peanuts, and a spoonful of coffee powder sharpens the chocolate. If you prefer a salty finish, add a few flakes of sea salt over the top just before the mixture goes into the tin.
A square of these bars can also become one small part of a broader spread. For global flavour ideas, fresh produce and contrasting textures can turn the rich oat and chocolate combination into a more interesting lunch. A handful of salad leaves, a few pieces of fruit or a spoonful of yoghurt gives the treat a fresh counterpoint.
Make a batch for your next gathering
A double batch is easy because the method does not change, but use a larger pan so the mixture can still be pressed into a firm layer. Freeze extra squares on a tray first, then transfer them to a container so they do not stick together. That small piece of planning gives you a ready snack for school lunchboxes, gym bags, office fridges or a weekend walking group without another round of chopping and mixing.
Make the batch now, let it chill, and cut it while the knife is warm and the slab is firm. Keep one square for yourself, share the rest, and put a few in the fridge for the next busy afternoon.
Meet the cooks
Two friends, two kitchens, one shared notebook.

Jessica
"I write down what worked, what flopped, and what to try next week."

Kathrin
"Recipes should leave room for the fridge and the season."
Get in touch
We read every message.